Thank You to my Friends and Followers!

Wednesday, February 28, 2018

Up, Up and Away Card

Hi There and Happy Wednesday!
Welcome to All Things Beautiful!
Today's post is a fun kids card.


For this card I stamped the cat and balloons and masked them off before I stamped the clouds and inked the rest with coordinating ink.
Then I went back and added Glossy Accents to the balloons to give them a little dimension and shine.

Products:
Gina K Designs ink in Black Onyx,Turquoise Sea, Ocean mist, 
Copic Markers
Penny Black Stamp Set

Have a wonderful day!

Thank you to my followers for always checking out my latest creation and Thank you if your visiting. Please consider following me. If you become a follower I'll send you a shout out on this weeks Feature Friday post and link your blog so others can visit you too. Oh and how could I forget--you'll be entered in my BLOG CANDY drawing.  Next drawing when I reach 250 followers!!!!!
( Unfortunately, there are some who have not posted in the comments or sent me the link to their blog in an email. I will not be hunting for your blog so if you don't post your blog address I won't be able to link it up)

Monday, February 26, 2018

Kids Rocker card

Welcome to my little space on the blog sphere!
 I hope your day is going well and you are finding some time to be creative.
Today is a fun post for a kids card.
I haven;t made a rocker card in ages but when I saw this stamp I knew I had to use it for a rocker card.

I used the metal die as a sort of mask to ink the edges and leave a nice border. 

I used a paw stamp to coordinate the envelope to match the card front. here is the rocker card in action.

This is the back where I stamped a simple Hello sentiment and left room for a more personal message.


You can see the products I used listed below for this project.

Products:
Gina K. Designs Wild Dandelion card stock and ink
Spellbinders Decagons dies
Stampin' Up Marbled background stamp
Recollections Meow Meow stamp set
Copics R20, R22, YR24, Y32, B24, B29
Ranger Superfine White Detail embossing powder


I hope you give the rocker card a try! Have a wonderful week!

Thank you to my followers for always checking out my latest creation and Thank you if your visiting. Please consider following me. If you become a follower I'll send you a shout out on this weeks Feature Friday post and link your blog so others can visit you too. Oh and how could I forget--you'll be entered in my BLOG CANDY drawing.  Next drawing when I reach 250 followers!!!!!
( Unfortunately, there are some who have not posted in the comments or sent me the link to their blog in an email. I will not be hunting for your blog so if you don't post your blog address I won't be able to link it up)

Thursday, February 22, 2018

Red Plaid Card Candy


Hello and welcome to All Things Beautiful!
Thank you for visiting  my little space on the blog sphere!
 I hope your day is going well and you are finding some time to be creative.
Today is a quick post.

Today's post showcases a card candy I made for a a StampNation sistah.
The theme is red, white and blue.


If you've never made card candy you can find a tutorial on how to do so under my tutorial tab.


Have a wonderful day!

Thank you to my followers for always checking out my latest creation and Thank you if your visiting. Please consider following me. If you become a follower I'll send you a shout out on this weeks Feature Friday post and link your blog so others can visit you too. Oh and how could I forget--you'll be entered in my BLOG CANDY drawing.  Next drawing when I reach 250 followers!!!!!
( Unfortunately, there are some who have not posted in the comments or sent me the link to their blog in an email. I will not be hunting for your blog so if you don't post your blog address I won't be able to link it up)

Monday, February 19, 2018

More Starburst Cards


Hello and Welcome to All Things Beautiful!
I made a few more starburst cards and thought I'd share.
I tried to keep 2 of them more of a masculine theme.
Hope you like.
If you haven';t tried making a starburst card yet you can find a link to the Youtube tutorial I used under my tutorial tab.


Products:
Gina k Designs Black Onyx, Turquoise, OCean Mist  ink
Gina K Designs Luxury Kraft Turquoise Sea, Black Onyx, White
Gypsy Wanderings Cricut Cartridge
Authentique 6 x 6 paper stack
Echo Park Getaway 6 x 6 paper stack


Have a great day!

Thank you to my followers for always checking out my latest creation and Thank you if your visiting. Please consider following me. If you become a follower I'll send you a shout out on this weeks Feature Friday post and link your blog so others can visit you too. Oh and how could I forget--you'll be entered in my BLOG CANDY drawing.  Next drawing when I reach 250 followers!!!!!
( Unfortunately, there are some who have not posted in the comments or sent me the link to their blog in an email. I will not be hunting for your blog so if you don't post your blog address I won't be able to link it up)


Wednesday, February 14, 2018

Christmas Accordion Tag card

Hello! I hope your day is going well and welcome to All Things Beautiful
Today's post is a masculine fancy fold card using a winter theme. This fold is called a Accordion Tag fold card. You can find the tutorial on how to make this card under my tutorial tab here.
For this card you make a long accordion folded piece of cardstock in which you can hand write or stamp messages/images.

Here is a picture of the card front and complementing envelope.

 I alternated patterned paper and blank cardstock pieces for stamping

I also coordinated theinside of the card to match the card front and envelope.


Hope you enjoyed my post and try the Accordion tag Fold card for yourself. See the products used below.

Products:
Gina K Designs  Fresh Asparagus cardstock
Gina K Designs Ivory ink
Recollections Cozy Lodge 6x6 patterned paper stack
Catherine Pooler Lovely Flowers & Banners dies
Stampin' Up Marbled Stamp
Lawn Fawn Scripty Sayings stamp set
Recollections Christmas Flourishes
Neat & Tangles for C.P. SOA Bright Baubles stamp set


Have a wonderful day!

Thank you to my followers for always checking out my latest creation and Thank you if your visiting. Please consider following me. If you become a follower I'll send you a shout out on this weeks Feature Friday post and link your blog so others can visit you too. Oh and how could I forget--you'll be entered in my BLOG CANDY drawing.  Next drawing when I reach 250 followers!!!!!
( Unfortunately, there are some who have not posted in the comments or sent me the link to their blog in an email. I will not be hunting for your blog so if you don't post your blog address I won't be able to link it up)

Monday, February 12, 2018

Be Truely Glad

Hi There!
I hope your week is going well.
Today's post features masking and stenciling with inks
I have Youtube tutorials links under my tutorial tab for both techniques. You can find them here.


For this card i masked off a circle of the white cardstock and then covered it with my stencil to ink.
I also inked the envelope using the same stencil and distress inks.


I cut down the card front panel and used the scraps as embellishments for the inside. I also stenciled the inside of the card with a pale gray ink just for a softer effect. 


Products:
Gina K Designs Moonlit Fog ink
Catherine Pooler Swoop stencil
Ranger Distress inks - Fired Brick, Spiced Marmalade, Mustard Seed, Twisted Citron, Blueprint Sketch, Wilted Violet
Hampton Arts Faith stamp set
Stampin' Up Picture perfect stamp set


I hope you have a great week and find time to make something beautiful! 

Thank you to my followers for always checking out my latest creation and Thank you if your visiting. Please consider following me. If you become a follower I'll send you a shout out on this weeks Feature Friday post and link your blog so others can visit you too. Oh and how could I forget--you'll be entered in my BLOG CANDY drawing.  Next drawing when I reach 250 followers!!!!!
( Unfortunately, there are some who have not posted in the comments or sent me the link to their blog in an email. I will not be hunting for your blog so if you don't post your blog address I won't be able to link it up)

Sunday, February 11, 2018

My Own Shop

So I've taken the leap. I've turned my passion for making Handmade Greeting Cards and started a small business.
My shop is called

I also added a business


A business


and a Burnish and Brayer Pinterest account


I am so excited to take this scary but hopeful step in my card making journey. Will you please join me by checking out my shop and even purchasing a card or two!


Friday, February 9, 2018

Bleaching Birthday

Hello There! 
I am so happy you've stopped by for a visit to All Things Beautiful.
In today's post my card uses the bleaching technique.
If you haven't tried it yet and want to, you can find a link to a video tutorial under my tutorial tab.


With the bleaching technique, depending on the type of cardstock you use you will achieve a variety of looks.


Here is a close up of the bleaching on the stamped flowers. The bleach revealed this wonderful teal color. 


Here I continued the turquoise and navy blue flower design on the inside of my card. As well as stamping the envelope to match.


Products:
Gina K Designs Turquoise Sea & In The Navy ink
Gina K Designs In The Navy cardstock
Heart punch
$ store stamp
Ranger Watering Can embossing powder
Stampin Up Chalk Talk Framelets
Stampin' Up Special occasions stamp set
Hero Arts Tell It All stamp set


I hope you find time to be creative today and have a wonderful day!

Thank you to my followers for always checking out my latest creation and Thank you if your visiting. Please consider following me. If you become a follower I'll send you a shout out on this weeks Feature Friday post and link your blog so others can visit you too. Oh and how could I forget--you'll be entered in my BLOG CANDY drawing.  Next drawing when I reach 250 followers!!!!!
( Unfortunately, there are some who have not posted in the comments or sent me the link to their blog in an email. I will not be hunting for your blog so if you don't post your blog address I won't be able to link it up)


Wednesday, February 7, 2018

Birthday Tri-fold Gift Card Holder

Happy Monday!
I am so glad you stopped by to see my latest post.

This card is using a new to me technique. If you'd like to try this fancy fold card technique you can find a tutorial under my tutorial tab here. This card is called a Tri-fold gift card holder. 
I chose 3 pattern papers from the same 6 x 6 paper stack.

You could add a message to the inside flap on the left if desired.

You could also decorate the belly band and the center flap.


Hope you enjoyed my post and try making a Tri-fold gift card holder for yourself. 
See the products used below.

Products:
Gina K Designs  Sweet Mango & Turquoise Sea card stock
My Minds Eye Fine & Dandy 6 x 6 paper stack


Have a wonderful day!

Thank you to my followers for always checking out my latest creation and Thank you if your visiting. Please consider following me. If you become a follower I'll send you a shout out on this weeks Feature Friday post and link your blog so others can visit you too. Oh and how could I forget--you'll be entered in my BLOG CANDY drawing.  Next drawing when I reach 250 followers!!!!!
( Unfortunately, there are some who have not posted in the comments or sent me the link to their blog in an email. I will not be hunting for your blog so if you don't post your blog address I won't be able to link it up)

Monday, February 5, 2018

Kids Swing/Flip Flop card

Hi There! Welcome to All Things Beautiful!
 I am so glad you stopped by for a visit.

Today's post is a Swing or Flip Flop card.  You can find the link to the tutorial I used under my tutorial tab or by clicking here. It's been quite a while since I've made this type of fun fold  card and there are so many variations. I have linked several tutorials utilizing some of the variations in the tutorial section of my blog.


For today's card I chose to make a kids themed design. I haven't colored with my Copic markers in a while and I just really enjoyed coloring the image on this card. I am not a Copic expert but I do enjoy the results I get form these artist quality, alcohol ink markers.  I also included a small embellishment (Card Candy) I created in the lower left hand corner. You can find a tutorial on how to make your own card candy embellishments under my tutorial tab using the link I provided above.

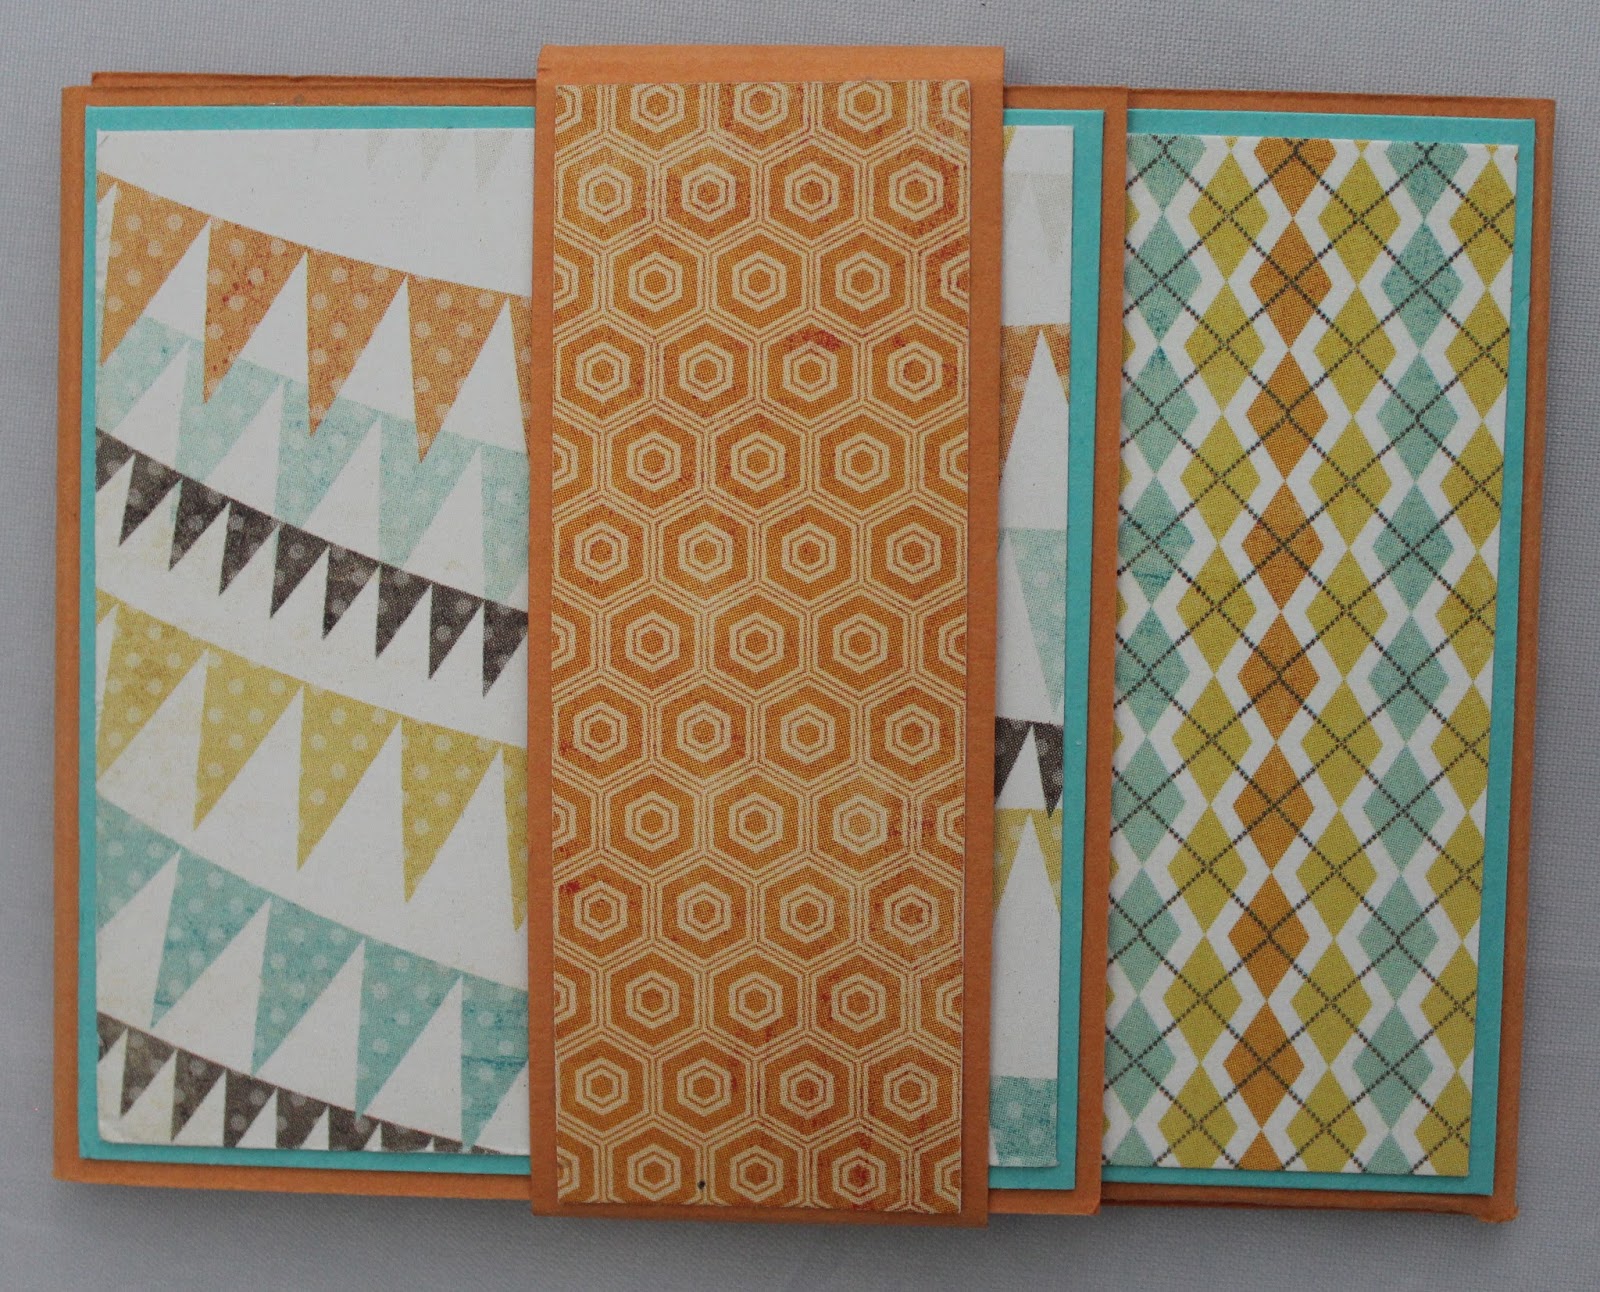
Here is  a view of the card as it is being opened, you can see the center image begin to flip. I chose to also stamp the card base, front and back with a simple wood grain background stamp just to give the card some interest and keep the design cohesive. 


The back panel of the card when the image flips over is just stamped with a simple sentiment with plenty of room for a personalized handwritten note.


Products:
Gina k Designs Turquoise Sea card stock and ink
Gina k Designs Sweet Mango card stock 
Gina k Designs Black Onyx ink
American Crafts Summer 6 x 6 paper pad
Stampin' Up Hardwood background stamp
Lili of The Valley Milly Cuddle Time stamp ST196
Hero Arts Everyday Sentiment stamp
Copic Markers E000, E00, R20, C1, C3, W1, BG18, Bg23, Yg11, E23, E15
The Paper Studio Pawprint stick


Now it's your turn to go make something beautiful and Have a wonderful day!

Thank you to my followers for always checking out my latest creation and Thank you if your visiting. Please consider following me. If you become a follower I'll send you a shout out on this weeks Feature Friday post and link your blog so others can visit you too. Oh and how could I forget--you'll be entered in my BLOG CANDY drawing.  Next drawing when I reach 250 followers!!!!!
( Unfortunately, there are some who have not posted in the comments or sent me the link to their blog in an email. I will not be hunting for your blog so if you don't post your blog address I won't be able to link it up)

Friday, February 2, 2018

Sentiment Focused-Good Friends

Welcome to All Things Beautiful!
 So glad you stopped by for a visit today! 

Continuing with  my 2018 goal of coordinating my card front, inside and envelope I  am showcasing a card using the same ink pattern and stencil.

You can see in the picture that I used the stencil on only the back envelope flap this time.
Although my card looks to have a rainbow effect I actually only used 4 colors of distress ink. 
Distress inks work wonderfully like that with blending.


Here is the inside of the card. I started with the inks and blended upward, heavier at the bottom and lightly as I worked upward.


Products:
Prima Spark Stencil
Gina K Designs Onyx Black cardstock and ink
Wow clear embossing powder
Ranger Distress inks - Ripe Persimmon, Crushed Olive, Tumbled Glass & Dusty Rose
Stampin' Up Lovely Friends stamp set
Pretty pink Posh clear sequins


I hope you have a great weekend and have a wonderful day!

Thank you to my followers for always checking out my latest creation and Thank you if your visiting. Please consider following me. If you become a follower I'll send you a shout out on this weeks Feature Friday post and link your blog so others can visit you too. Oh and how could I forget--you'll be entered in my BLOG CANDY drawing.  Next drawing when I reach 250 followers!!!!!
( Unfortunately, there are some who have not posted in the comments or sent me the link to their blog in an email. I will not be hunting for your blog so if you don't post your blog address I won't be able to link it up)